So, Snowl has been installed according to the recommendations provided on the Download page and now we have to open http:/[Snowl IP address]:5500 in the web browser.
The login page will appear:
Type admin in the Username field and 123456 in the Password field (these are default parameters) and press “Log In”.
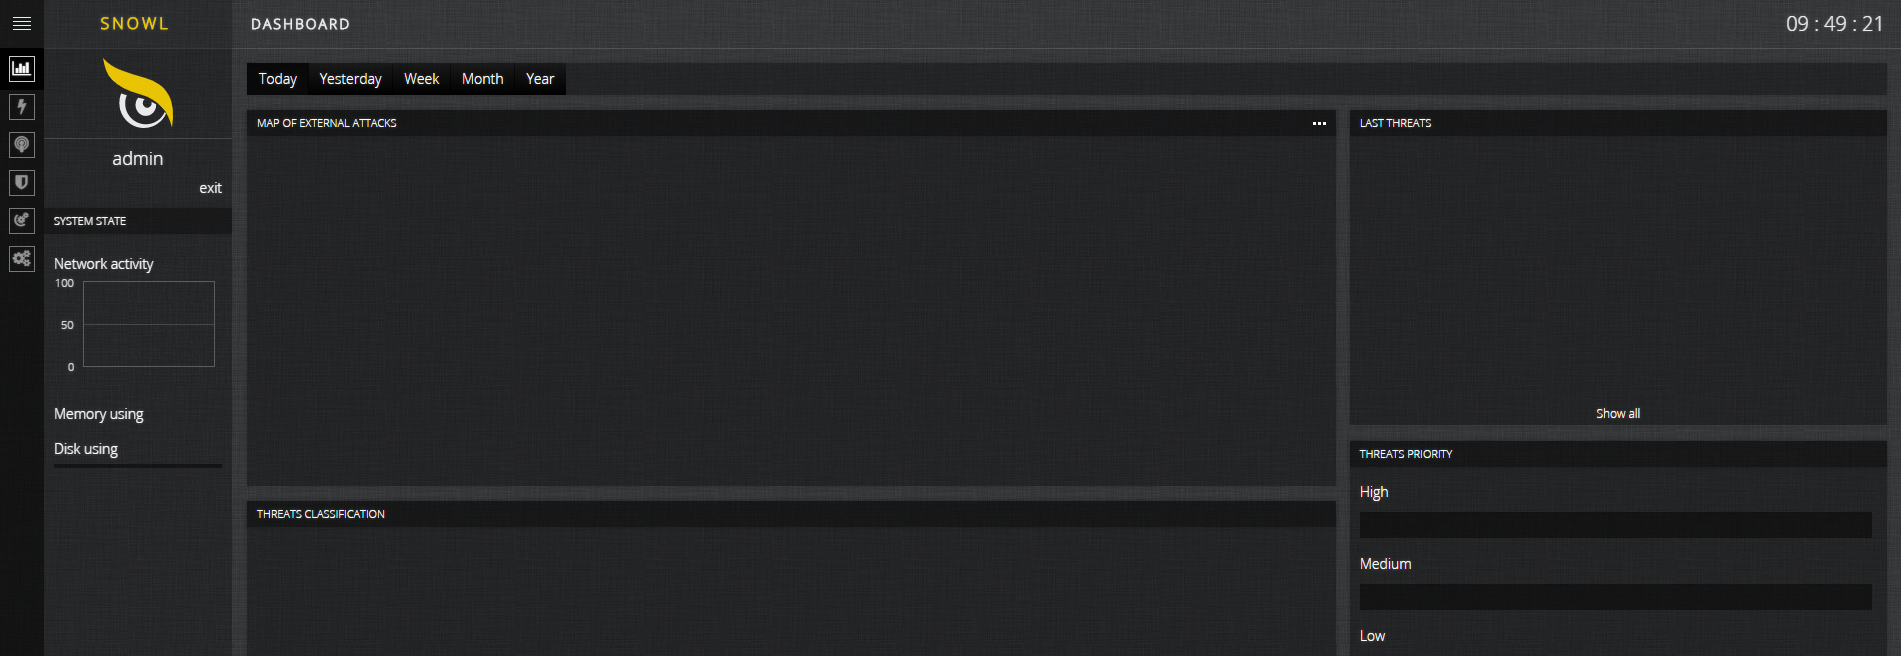
A “clear” home screen of Snowl interface will open:
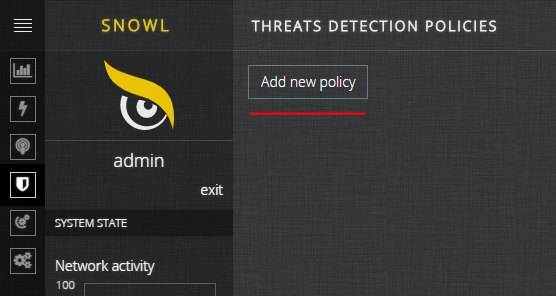
Then, you have to customize Threat Policies. For this purpose, click on “Threat Policies” in the main menu and press “Add new policy” on the page that appears:

After that, fill in the form that opens and press “Save”. If you do not know what to type in “Rule urls” and “IP blacklist urls”, we recommend to use one of the variants offered (provided in the recommendations under the input form)

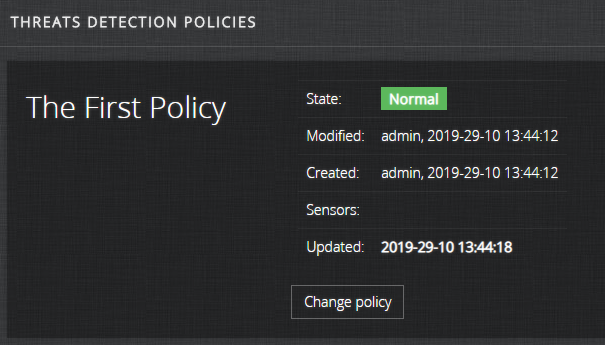
After that, you will see a pop-up notification saying “Policy ‘The First Policy’ was successfully saved.” and a page with the status of the newly created policy:
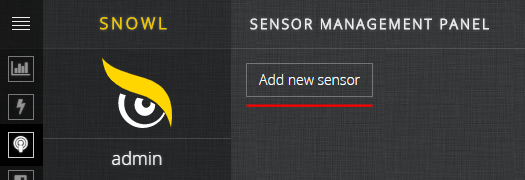
The next step is creating a sensor in the interface. In order to do this, click on “Sensors” in the main menu and press “Add new sensor”:

Then, you have to fill in the form that opens and press “Save”:

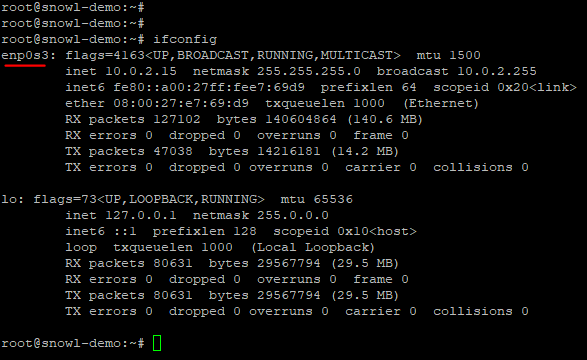
You also have to indicate the name of the network interface through which the traffic that has to be analyzed passes. In order to find out the list of interfaces and their names, run ifconfig command in your Linux server line:
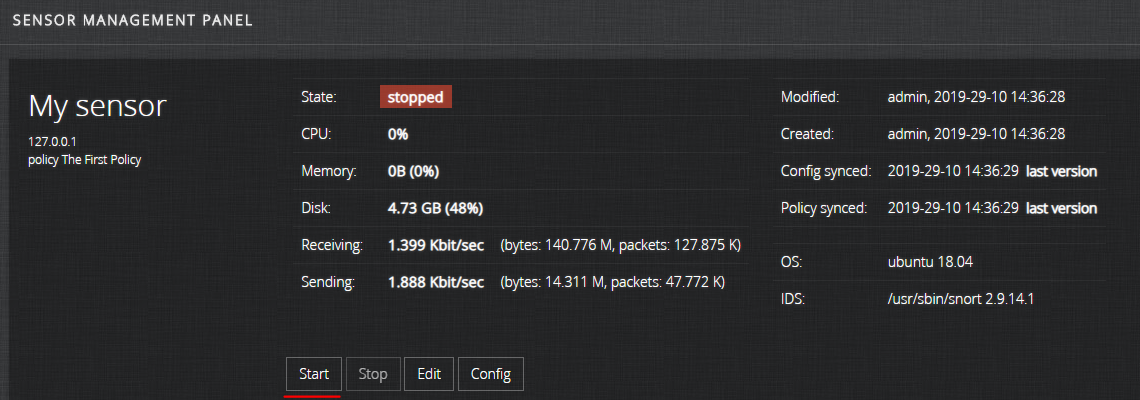
After successful creation of the sensor, the following message will appear: “Sensor ‘My sensor’ was successfully saved.” and a page with details of the newly created sensor will open. Then, start the sensor by pressing the “Start” button:
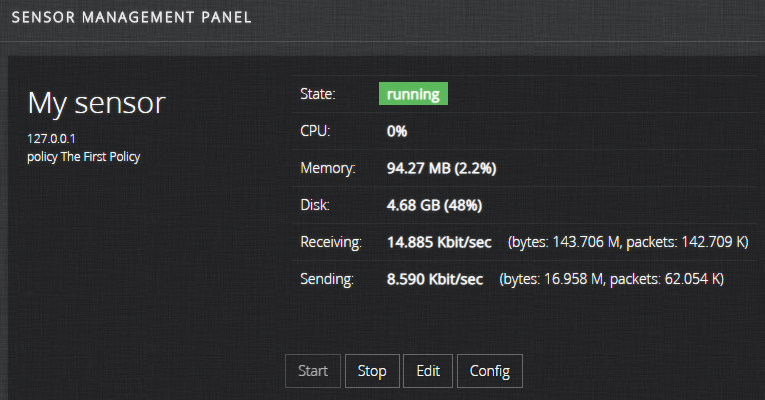
After a few seconds, its status will change to “running”:
Congratulations! All settings required to start operation have been made: the sensor Snort has been started and is now analyzing your network based on the specified policy; all threats detected will be displayed in the web interface. For a more detailed description of the web interface functionality, refer to Snowl User’s Guide.
We wish you successful use!